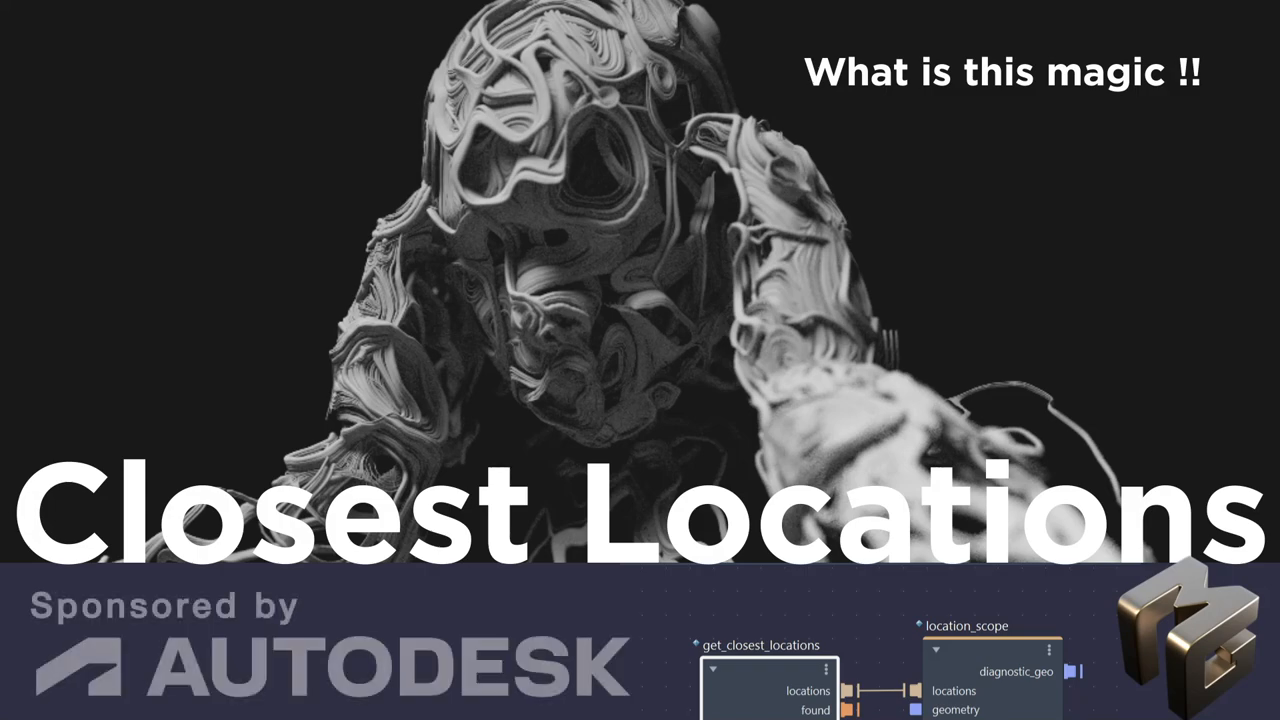
A single sphere. That's it. One movable sphere becomes the master key to particles, fire, ivy, abstract art... and anything else you can dream up in Bifrost Visual Programming|Bifrost. Sometimes the most powerful workflows aren't the complex ones. They're the ones that hand you a simple tool and say, "Go play."
The Foundation: Two Nodes That Change Everything
The `get_closest_locations` and `location_scope` nodes in Bifrost Visual Programming|Bifrost work in tandem. Wire them together, feed in a sphere's point position, aim it at target geometry... and suddenly you've got dynamically positioned points projecting onto any surface you point at.
That's the whole trick. Move the sphere, the points follow. Simple.
But simple doesn't mean small.
Points Are the Universal Currency
Here's where it gets interesting. In Bifrost Visual Programming|Bifrost, points are everything. Once you have points... dynamically generated, art-directable, movable points... you can feed them into virtually any downstream system.
The tutorial walks through this progression beautifully:
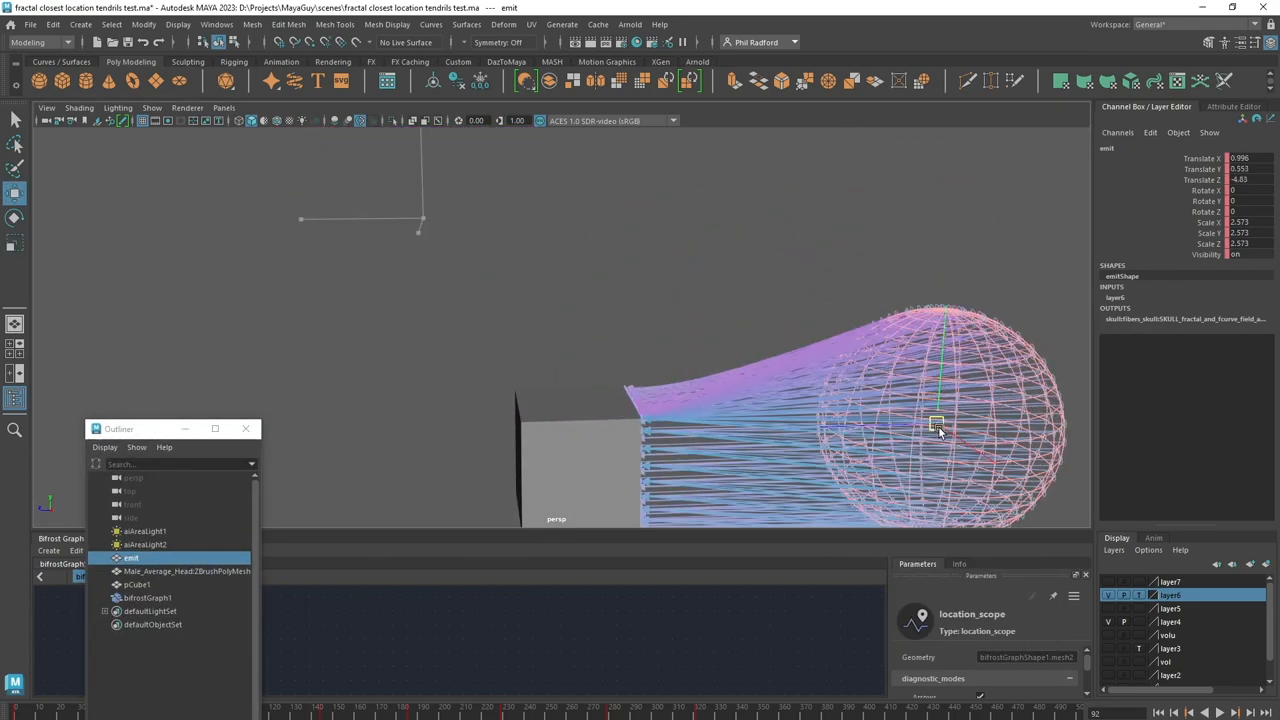
1. Ray casting — the raw arrows showing direction from sphere to surface
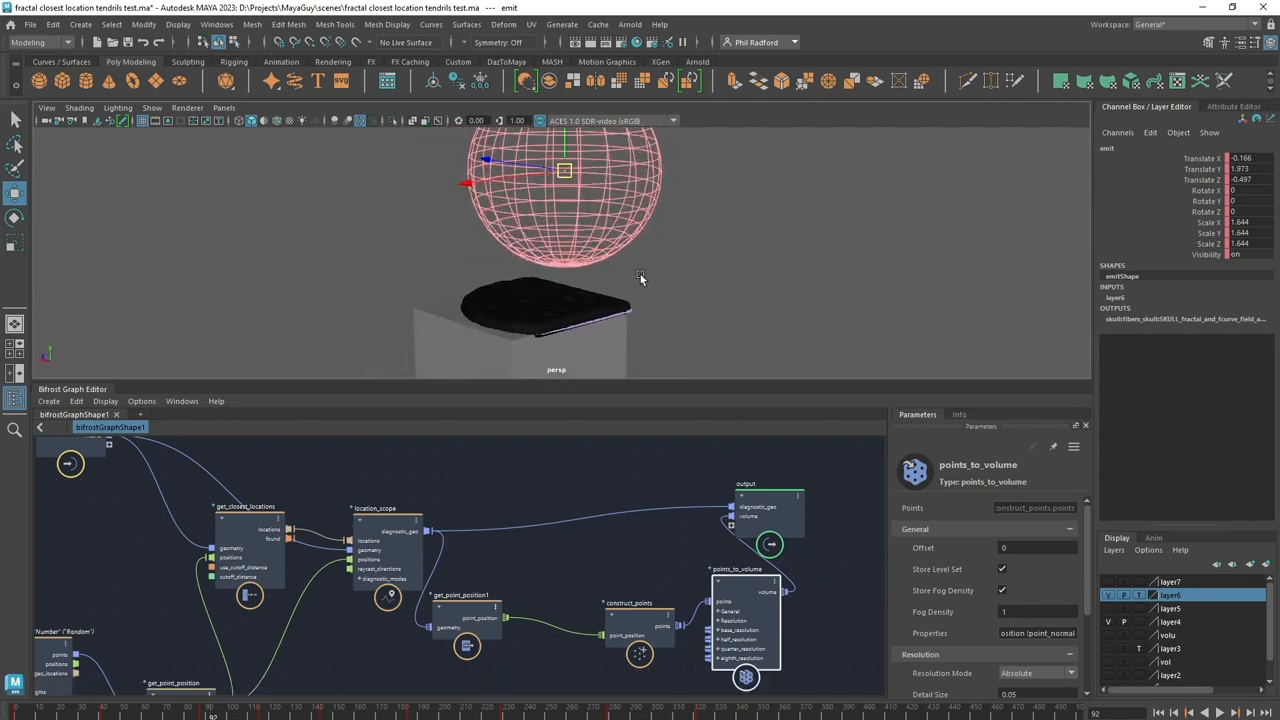
2. Scattered points — swap in a `scatter` node for randomized, organic distribution
3. Meshed volumes — `points_to_volume` with level set turns those scattered dots into solid, morphing geometry
4. Particle Simulation|Particle emission — plug the location scope into a particle source and BAM, you've got emission points that move wherever you drag the sphere
5. Volumetric Fire Simulation|Fire simulation — same points, different solver, same movable control
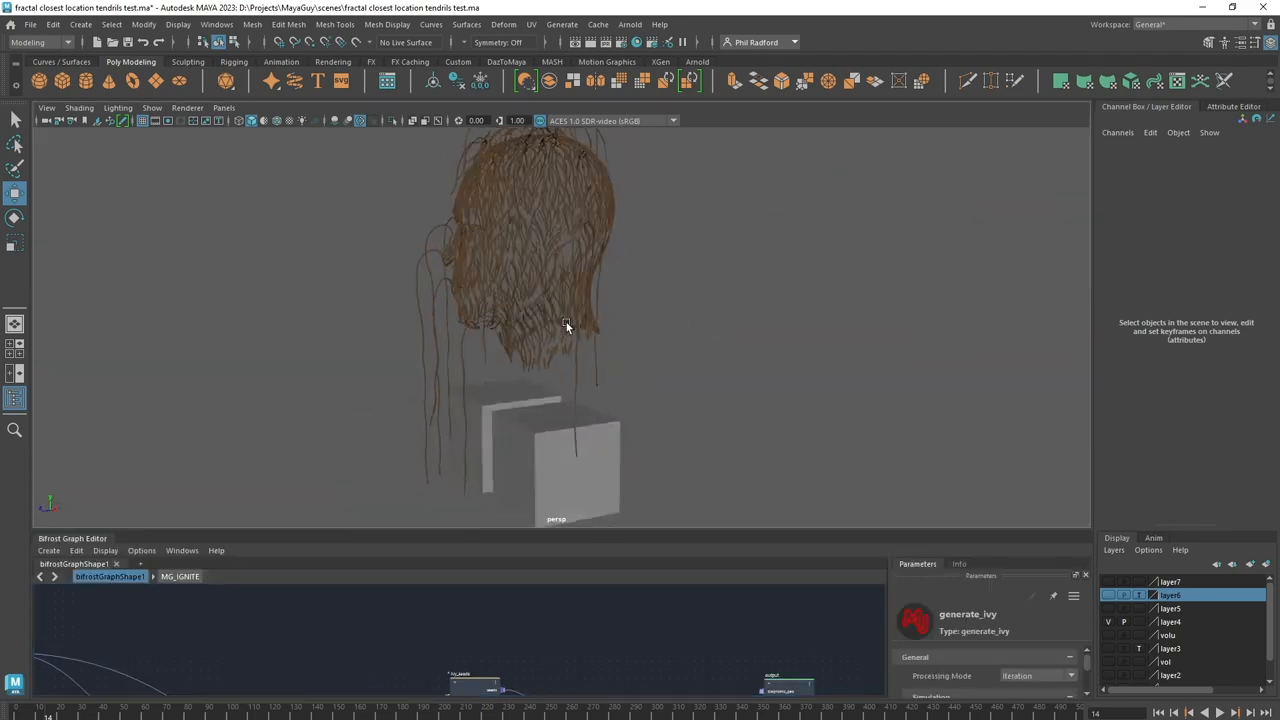
6. Procedural Ivy Generation|Procedural ivy growth — those points become seeds for organic growth systems
7. Fractal Vector Fields|Fractal vector force fields — combined with mesh-to-volume conversion for abstract, art-directable volumetrics
Seven completely different effects. One foundational setup.
The Art Direction Problem... Solved
This is the part that matters for working artists. The presenter nails it when talking about emission regions:

> "If in the past if you wanted to create an emission area or emission region, it's not that easy. It's finicky, it's a pain. But now with this tool you can just use it, put it somewhere, animate it, do what you want with it."
That's not just convenience. That's a fundamental shift in how you interact with procedural effects. Instead of wrestling parameters to aim your effect at a specific area... you grab a sphere and move it. Want particles flying off the back of a character's head? Drag the sphere there. Want ivy creeping up only one side of a building? Position and go.
The feedback loop becomes immediate. Tactile. You're sculpting effects in space rather than debugging node values.
Scaling Up: Arrays and Merged Geometry
One target object is cool. Multiple targets? That's production-ready.
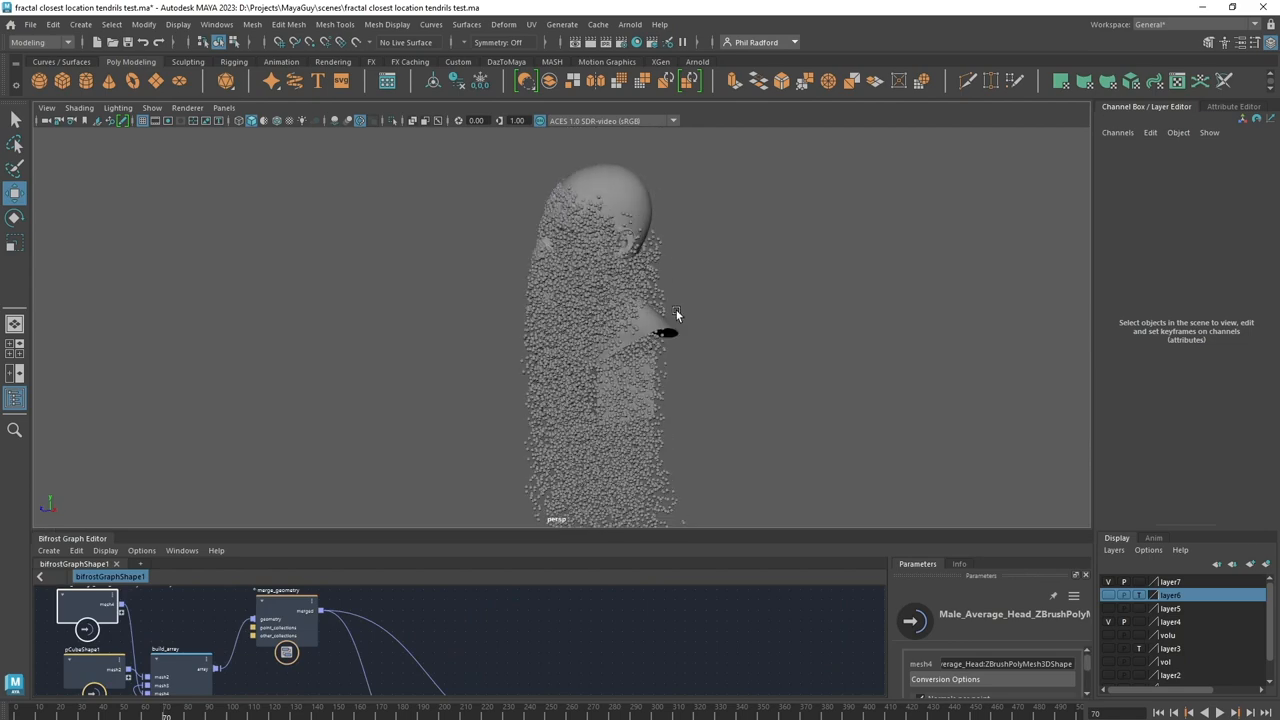
Using `build_array` and `merge_geometry`, you can feed multiple objects into the same closest-locations setup. The tutorial demonstrates two cubes plus a character model... all receiving projected points from a single emitter sphere. As the presenter points out, "you could have a whole city there if you wanted to."
The cubes in the demo don't even have subdivisions. The scattered points still distribute beautifully across their surfaces. The technique doesn't depend on your target mesh's topology. It creates its own point distribution. That's a big deal for real-world scenes where you can't always control incoming geometry.
The Abstract Frontier: [[Fractal Vector Fields|Fractal Fields]] and Volumes
The final section ventures into territory that blurs the line between VFX and digital art.
A `fractal_vector_force` compound... built from voxel fields, gradient fields, and fractal noise, crossed together... gets paired with mesh-to-volume conversion and the closest-locations workflow. The result is abstract, swirling volumetric shapes that respond to sphere placement.
> "What I love even more than just Fields is the ability to artistically be able to move around an object to create the sort of shape that I want, rather than just letting it do its thing."
That sentence captures something essential about Procedural Art Direction|procedural art direction. The best procedural workflows aren't the ones that generate random beauty. They're the ones that give you a steering wheel.
The Deeper Pattern
Step back from the specifics and there's a principle here that applies way beyond Autodesk Maya|Maya:
Find your universal building block. Master the pipeline from that block to every output you need.
In Bifrost, that building block is points. In other domains, it might be something else entirely. But the pattern holds... invest in understanding the foundational element, and the range of what you can create expands exponentially.
The tutorial covers seven distinct effect types in under 18 minutes. Not because each one is trivial... but because the foundation is solid enough to carry all of them.
Points mean prizes. Build from the fundamentals outward.
Next time you're staring at a complex effect wondering where to start... zoom out. Find the simple core. The one movable piece that unlocks everything downstream. In Bifrost, it's a sphere and two nodes. In your craft, it might be something entirely different. But it's there. And once you find it... you'll wonder how you ever worked without it. 🛠️✨
Original video by Maya Guy — Watch on YouTube ↗
Echoes
Wisdom from across the constellation that resonates with this article.
“Maya Bifrost Graph Editor Strands, Compound and Publishing – A very simple look at strand (thingies) how to create a compound and how to publish so that your amazing work shows up in the bifrost brows”
— Maya Guy | Maya Bifrost Graph Editor Strands, Compound and Publishing Same Expert
“Bifrost Graph Editor. Mesh Particles. Maya tutorial. Free Maya Scene!! – Please leave a LIKE & SUBSCRIBE if it helped you. FREE maya scene from the video here http://www.mayaguy.com Quick tutorial loo”
— Maya Guy | Bifrost Graph Editor. Mesh Particles. Maya tutorial. Free Maya Scene!! Same Expert
“Create Amazing FX in Bifrost for Maya using Closest Locations – Tutorial – This Maya tutorial sponsored by Autodesk, shows how we can use the node ‘closest location’ in Bifrost to project points onto “
— Maya Guy | Create Amazing FX in Bifrost for Maya using Closest Locations – Tutorial Same Expert